Introduction to Truing a Bike Wheel
Keeping your bicycle wheels in top condition is essential for a smooth and safe ride. One key aspect of wheel maintenance is truing, which involves adjusting the tension of the spokes to ensure the wheel is straight and round. A well-trued wheel not only enhances your bicycle’s performance but also extends the lifespan of the wheel components.
In this comprehensive guide, we’ll walk you through the process of truing a bike wheel, providing step-by-step instructions and valuable tips to help you achieve the perfect wheel alignment. Whether you’re a seasoned cyclist or just starting out, mastering the art of wheel truing is a valuable skill that will save you time and money in the long run.
What is Wheel Truing?
Wheel truing is the process of adjusting the tension of the spokes to correct any imperfections in the wheel’s shape. Over time, due to factors such as rough riding, potholes, or uneven spoke tension, a wheel can develop wobbles or become out of round. Truing a bike wheel involves tightening or loosening the spokes to bring the wheel back into perfect alignment.
The goal of truing is to achieve a wheel that is both laterally and radially true. Lateral trueness refers to the side-to-side straightness of the wheel, while radial trueness ensures that the wheel is perfectly round with no high or low spots on the rim.
Why is Truing Important?
Truing your bike wheels is crucial for several reasons:
- Improved Performance: A true wheel rolls smoothly and efficiently, providing a more enjoyable and faster ride.
- Enhanced Safety: An untrue wheel can cause unpredictable handling and put unnecessary stress on the bike’s components, potentially leading to accidents or premature wear.
- Longer Component Lifespan: Properly trued wheels distribute the stress evenly across the spokes, rims, and hubs, extending the life of these components and saving you money on replacements.
Regular truing can also help you identify potential issues early on, such as damaged spokes or rim dents, allowing you to address them before they escalate into more serious problems.
Tools Needed for Truing a Bike Wheel
To effectively true your bike wheels, you’ll need a few essential tools. While some of these tools are specific to wheel truing, others are common bicycle maintenance items that you may already have in your workshop.
Wheel Truing Stand
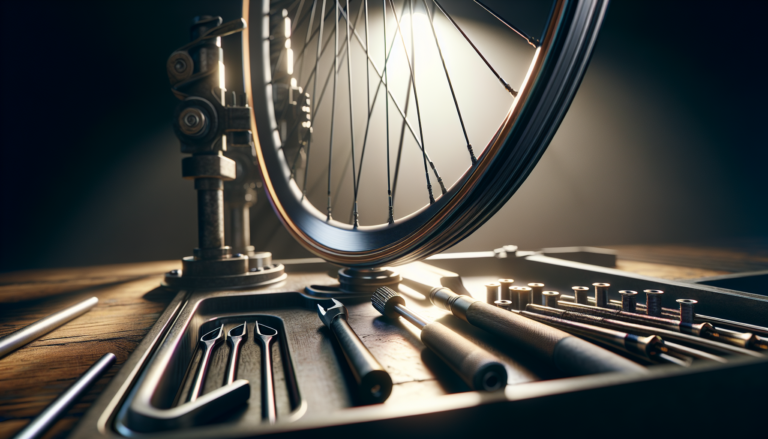
A wheel truing stand is a device that holds your wheel securely in place while you make adjustments to the spokes. It consists of a sturdy base and two adjustable calipers that allow you to check the wheel’s lateral and radial trueness. While it’s possible to true a wheel without a stand, using one makes the process much more precise and efficient.
When choosing a truing stand, look for a model that is compatible with your wheel size and has easy-to-use adjustment knobs. Some high-end stands even come with built-in dishing tools to help you center the rim over the hub.
Spoke Key
A spoke key, also known as a spoke wrench, is a small tool designed to fit the nipples at the end of each spoke. It allows you to tighten or loosen the spokes as needed to adjust the wheel’s alignment. Spoke keys come in different sizes to accommodate various nipple sizes, so make sure you have the correct one for your wheel.
When using a spoke key, be gentle and make small adjustments. Over-tightening or loosening the spokes too much can cause further issues and potentially damage the wheel.
Tensiometer
A tensiometer is a tool that measures the tension of each spoke, helping you maintain even tension across the wheel. While not strictly necessary for truing, a tensiometer can be incredibly helpful, especially for beginners.
By using a tensiometer, you can ensure that the spokes are not too tight or too loose, which is essential for a long-lasting and reliable wheel. Some digital tensiometers even provide recommended tension ranges for different types of spokes and wheels.
Step-by-Step Guide to Truing a Bike Wheel
Now that you have the necessary tools, let’s dive into the process of truing your bike wheel. Remember to work slowly and methodically, making small adjustments as you go.
Preparing the Wheel
1. Remove the wheel from your bike and remove the tire, tube, and rim tape. This will give you unobstructed access to the spokes and nipples.
2. Place the wheel in your truing stand, making sure it’s securely fastened. If you don’t have a truing stand, you can use your bike frame as a makeshift stand by placing the wheel in the dropouts and using the brake pads as a reference point.
3. Spin the wheel and observe its movement. Take note of any side-to-side wobbles or up-and-down hops.
Lateral Truing: Correcting Side-to-Side Wobbles
1. With the wheel spinning, use the calipers on your truing stand to identify the area where the rim is rubbing or deviating from side to side.
2. Locate the spokes that attach to the problem area on the rim. You’ll typically need to adjust the spokes on the opposite side of the deviation.
3. Using your spoke key, gently tighten the spokes that pull the rim away from the deviation, making quarter-turn adjustments. Alternatively, you can loosen the spokes that pull the rim towards the deviation.
4. Spin the wheel again and recheck the alignment. Repeat the process until the wheel runs true laterally.
Radial Truing: Ensuring the Wheel is Round
1. Once the lateral true is achieved, check for any high or low spots on the rim. These will cause the wheel to hop up and down as it spins.
2. Use the calipers on your truing stand to locate the high or low spots. High spots will cause the rim to bump against the caliper, while low spots will create a gap.
3. For high spots, tighten the spokes on both sides of the rim equally to pull the rim down. For low spots, loosen the spokes on both sides to allow the rim to rise.
4. Make small adjustments, check the wheel’s roundness, and repeat as necessary until the wheel spins smoothly without any hops or dips.
Dishing: Centering the Rim Over the Hub
1. After achieving lateral and radial trueness, check the wheel’s dish to ensure the rim is centered over the hub.
2. Use a dishing tool or a truing stand with built-in dishing calipers to measure the distance from the rim to the locknut on each side of the hub.
3. If the rim is not centered, adjust the spoke tension on one side of the wheel to pull the rim towards the center.
4. Recheck the dish and make further adjustments until the rim is perfectly centered over the hub.
De-stressing the Wheel
1. Once you’ve completed the truing process, it’s important to de-stress the wheel to ensure the spokes settle into their new tension.
2. Grip pairs of spokes on opposite sides of the wheel and squeeze them together. Work your way around the wheel, squeezing each pair of spokes.
3. Rotate the wheel a quarter turn and repeat the process until you’ve de-stressed the entire wheel.
4. Recheck the lateral and radial true, making any final adjustments as needed.
Tips and Best Practices
To get the most out of your wheel truing efforts, keep these tips and best practices in mind:
Common Mistakes to Avoid
- Over-tightening spokes: Tightening the spokes too much can cause the rim to warp or the spokes to break. Always make small, incremental adjustments.
- Ignoring spoke tension: Uneven spoke tension can lead to premature wear and wheel failure. Use a tensiometer to ensure that all spokes are within the recommended tension range.
- Rushing the process: Truing a wheel takes patience and precision. Rushing through the process can result in subpar results or even damage to the wheel.
Resources for Learning More
If you want to deepen your understanding of wheel truing and bicycle maintenance, there are numerous resources available:
- Park Tool’s Wheel Truing Tutorial: Park Tool, a leading manufacturer of bicycle tools, offers a comprehensive online tutorial on wheel truing.
- YouTube Tutorials: Channels like Global Cycling Network and Park Tool offer video tutorials that visually guide you through the truing process.
- Online Forums: Bicycle maintenance forums like Bike Forums and MTBR are great places to ask questions and learn from experienced mechanics.
Remember, the best way to improve your wheel truing skills is through practice. Don’t be discouraged if your first attempts aren’t perfect – with time and experience, you’ll develop a keen eye and a steady hand for creating impeccably true wheels.
Conclusion
Truing your bike wheels is an essential skill for any cyclist who wants to keep their ride in top condition. By understanding the principles of wheel truing and following the step-by-step process outlined in this guide, you can ensure your wheels are straight, round, and properly dished.
Investing in quality tools, like a truing stand and spoke key, will make the process easier and more precise. Additionally, taking the time to learn about spoke tension and common truing mistakes will help you avoid potential pitfalls.
Regular wheel maintenance not only improves your bicycle’s performance and safety but also extends the life of your wheel components, saving you money in the long run. So, embrace the art of wheel truing, and enjoy the satisfaction of riding on perfectly aligned wheels that you’ve serviced yourself.


